
How to install WordPress
Nowadays most hosting companies offer a one-click WordPress installation with their hosting plans. This one-click WordPress installation is great if you don’t know much about servers and databases, and allows you to install WordPress without any hassle. A more complicated way of installing WordPress is by uploading WordPress onto a server via FTP and setting up a MySQL database to go along with it. This beginners guide will show how to do the latter, installing WordPress via FTP and a MySQL database.
Step 1: Download WordPress
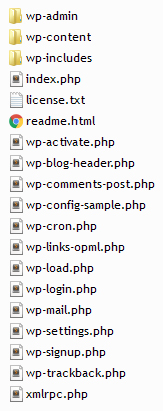
It all starts by downloading WordPress. Go to the WordPress download page (remember to go to WordPress.org, not to WordPress.com) and click the blue download button. Open the downloaded .zip or .tar.gz file using the default extraction program, or use a program like WinZip or WinRAR, and unzip all files to your desktop or a specific folder. You now have a folder called ‘wordpress’ which includes all WordPress core files and the latest free to use WordPress themes.
Step 2: Login to your server via FTP and upload WordPress to the server
Now that you have downloaded WordPress, it’s time to upload all WordPress files onto your server. For this you’ll need the FTP logins and a FTP client (software). Let’s first get hold of the FTP logins.
After you’ve purchased a hosting plan, you’ve received an email from your hosting provider containing cPanel/DirectAdmin logins, or logins to your hosting provider’s control panel. Login to cPanel/DirectAdmin or the control panel and look for FTP accounts. Usually there already is a default FTP account available (the password for this is in 9 out of 10 times the same as the cPanel/DirectAdmin/control panel password). You can either use the default FTP account, or create a new FTP account, whatever you prefer. To login via FTP, you’ll need the FTP address (the host), which usually is ftp.yourdomain.com or yourdomain.com, a username and a password. In most cases, the port is set on 21, if not, you’ll also need to save that port number or you won’t be able to login.
After retrieving the FTP logins, you’ll need a FTP client to access the server. There are a lot FTP clients to pick from, for now we’ll go with one of the most popular (and free) FTP client: Filezilla. Download, install and open Filezilla, and this is what you’ll get to see:
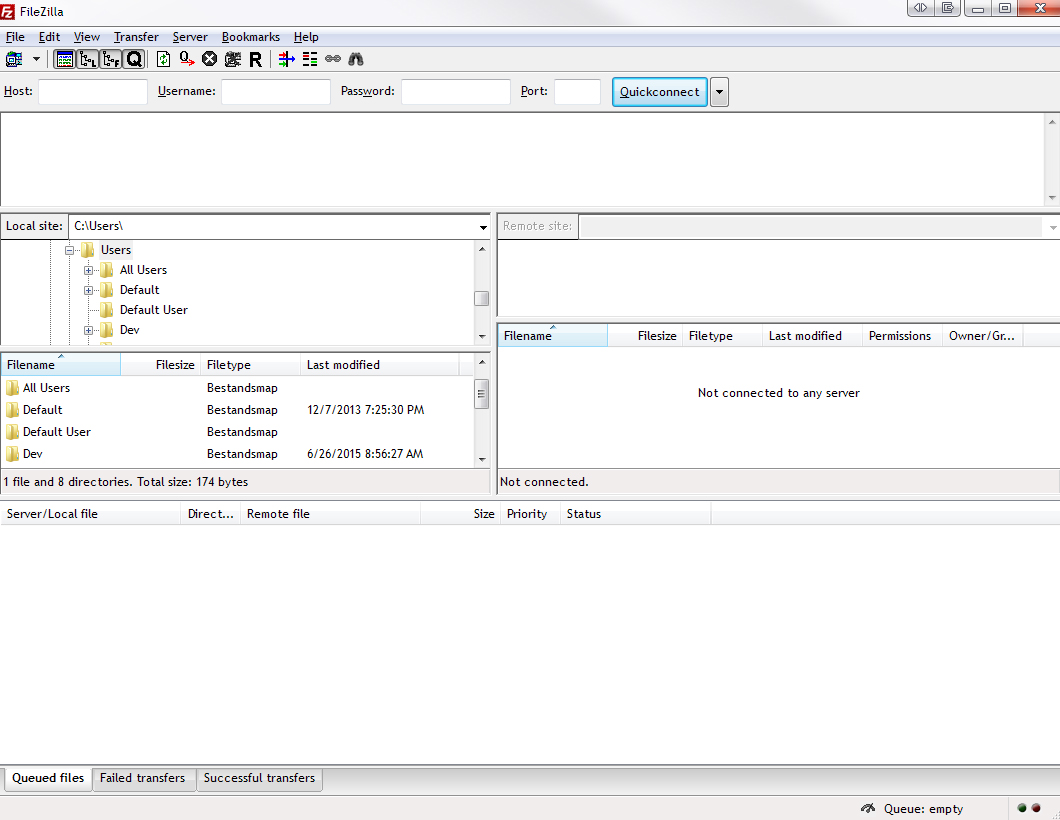
Right below the toolbar you’ll see “Host:”, “Username:”, “Password:” and “Port:”. Enter the credentials you’ve received from your hosting provider and click the “Quickconnect” button. You’ll now enter the server and see something similar to:
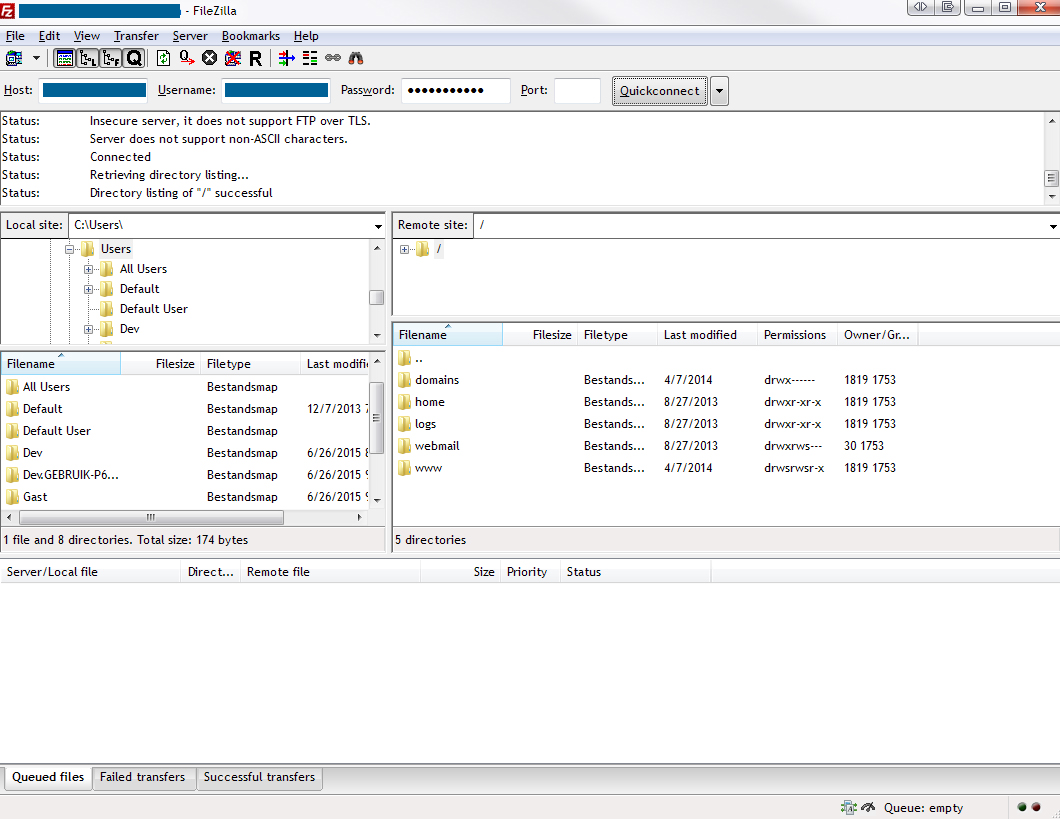
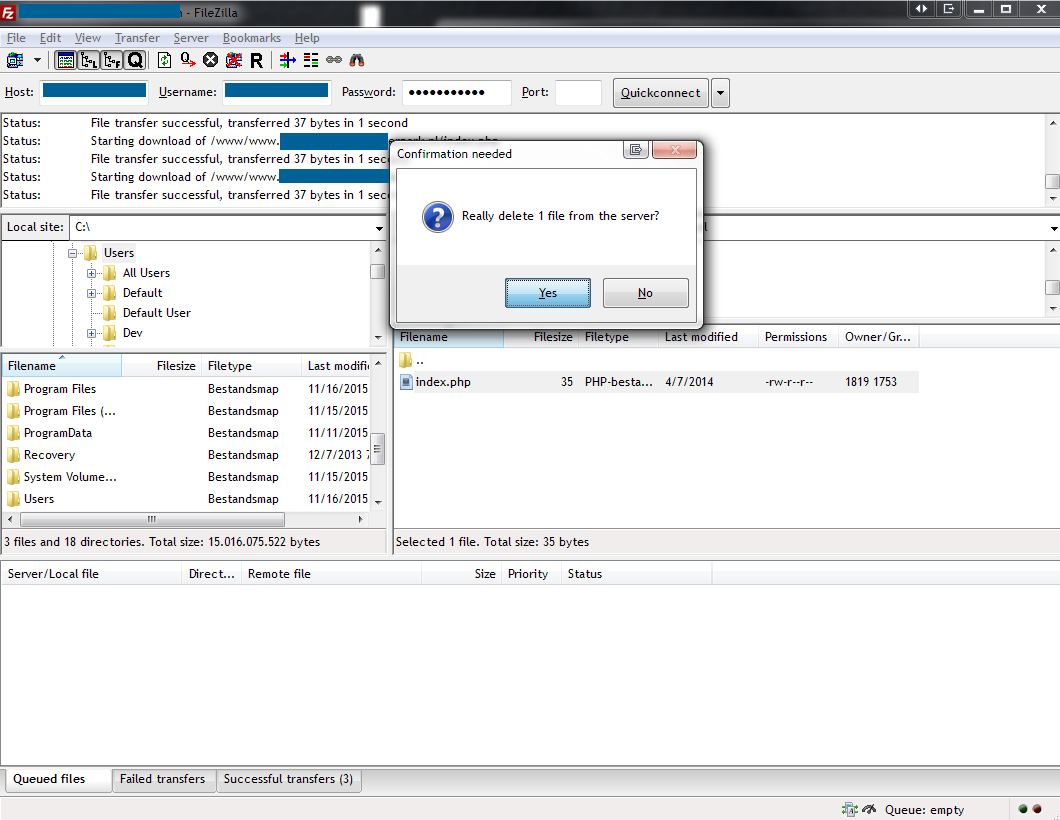
In the above example, we’ll open the “www” folder, which gets us a list of domains associated with this server. Next we pick the domain on which we want to install WordPress. This however can differ per hosting provider. You need to make sure you end up into the root folder, because that’s where you’ll need to upload all WordPress files. When you arrived into the root folder, delete all files that are present. In the example below, there is only one file:
Next you open the, in step one, extracted folder called ‘wordpress’, select all files and folders and drag them into FileZilla:

FileZilla now uploads all files to your server. This might take a while, depending on your internet upload connection. In the meantime, we’ll create a MySQL database which WordPress needs to store information.
3. Setup a database
A MySQL database is used by WordPress to store information. Let’s for example say you want to publish a new blog post. The content that you add to the post, things like the post title, paragraphs of texts, images and meta-data are stored into a MySQL database. Every time a visitor wants to read a post on your blog, WordPress will access the database table containing that specific post’s information, extract the needed contents, and display them on the website, all in lightning-speed.
Setting up a MySQL database is usually already done for you, all you need to do is retrieve it’s login information from your hosting provider. For this, follow the beginning of step two of this guide and this time, after logging in to the cPanel/DirectAdmin/Control panel, search for “phpMyAdmin”, “databases” or something similar. Same as with the FTP account, there probably already is a default database. You can again either use that database or create a new database. Test the database by logging into the database. Once you’re able to login to the database, it’s time to update the WordPress configuration file with the database logins.
4. Connect WordPress with the database
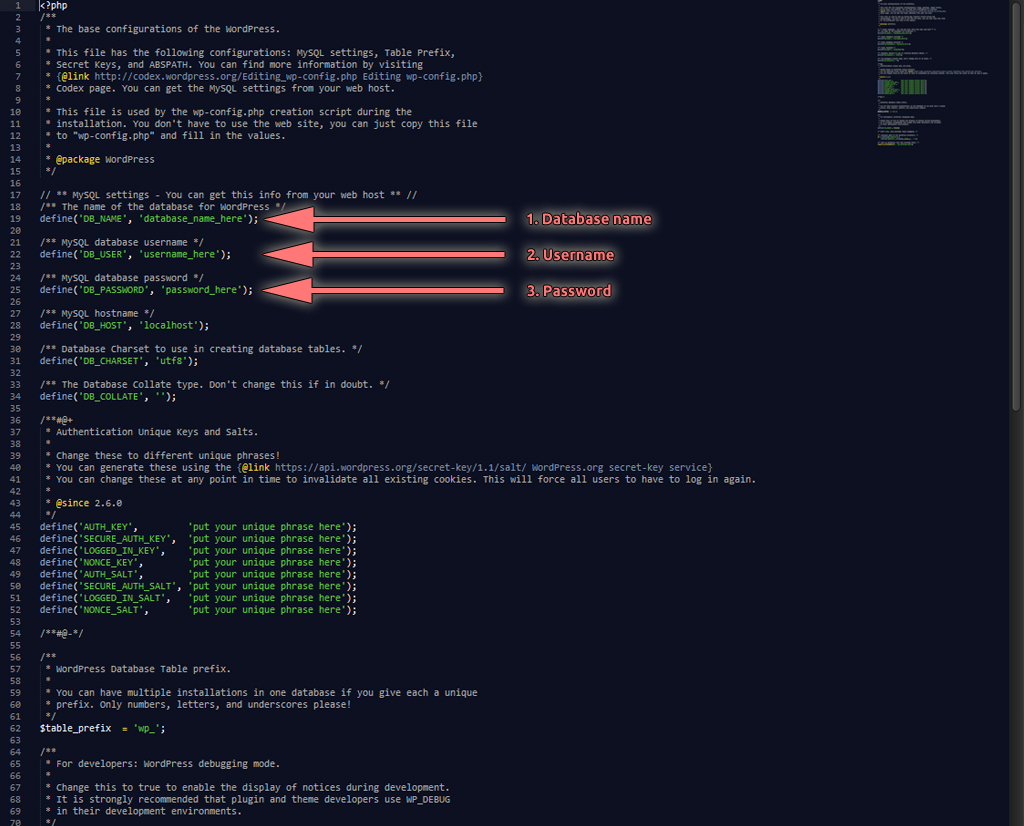
After uploading WordPress to your server (step two) has completed, open the file called “wp-config-sample.php”, which you will find in the root folder on your server. Open this file in your editor or in notepad, change the default values into your database logins and save the file:
Again locate the file called “wp-config-sample.php” on your server’s root and change the filename into “wp-config.php”.
Now that everything is set, it’s time to visit your website in your preferred browser. If everything worked out well, you’ll get to see the WordPress installation screen that asks you to add some default information about your WordPress site.
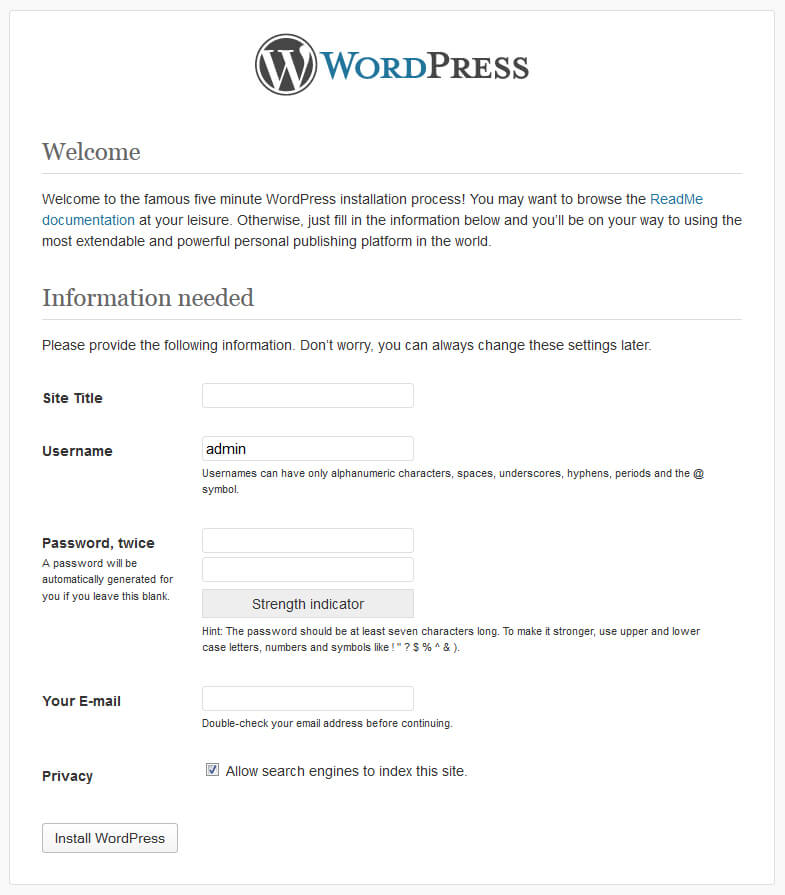
Enter all fields and click ‘Install WordPress’. WordPress needs a moment to create the needed tables in the database and when WordPress is ready, it’ll take you to the WordPress admin dashboard.
Congratulations, you’ve successfully installed WordPress.
Was this useful?


Resource categories
Share this resource
